T-Shirt Transfer Label Tutorial & a Peek at What’s to Come…
Yesterday I made some labels for the room that I’ll be sharing during the
Spring into Organization Blogger Home Tour and Link Party, beginning March 26th – 30th. I'll be posting the entire room on Tuesday, March 27th.
I made the labels using T-shirt transfer sheets and ironed them onto cream fabric to hang from baskets…
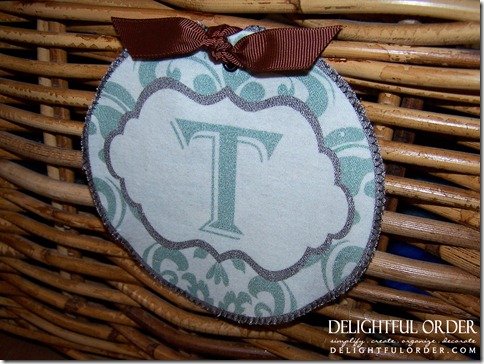
. . . and I LOVE!! :)
TODAY I’m sharing the how-to on these guys.
I used some labels that are very similar to
that are available in my shop:
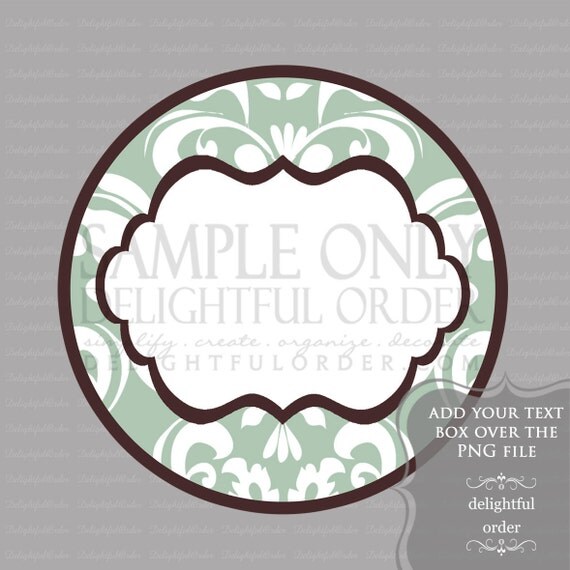
Find them in the
.
I’m not sure if you noticed or not, but I’ve recently added a bunch of new blank labels to my shop AND one of the coolest things is that you can add your text over the label to create editable labels! They’ve been a big hit. Stop by and check out all
.
With the blank labels, you get two files, one PDF Printable 8.5 x 11 file and One PNG file that are emailed to you to download and print from home or your local print shop.
Label whatever you wish. Simply print, cut out and write directly on the PDF label OR add a text box over the PNG label in Photoshop, Microsoft Word or similar document. With the PNG file you can also make the labels as big or as small as you want. Adding however many labels you want to an 8.5 x 11 sheet.
So, back to this tutorial… Like I was saying I created some labels that are similar to those ones that are available in my shop.


Printing the labels on the reverse print. The step by step instructions come with the transfer sheets.

The instructions recommend that you cut the shape, design, etc. out before ironing on, BUT I didn’t because I wanted to cut the fabric the same shape as my label. (If you are doing t-shirts, you would want to cut the shape out first.)
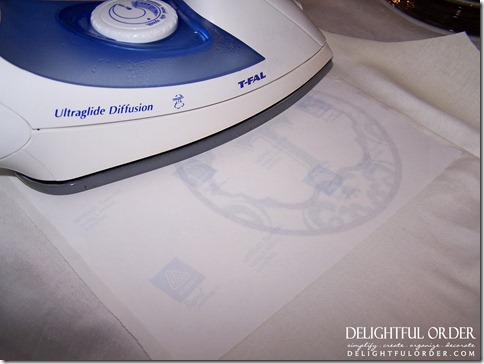
I used some cream colored material that I already had and ironed the label onto my material.
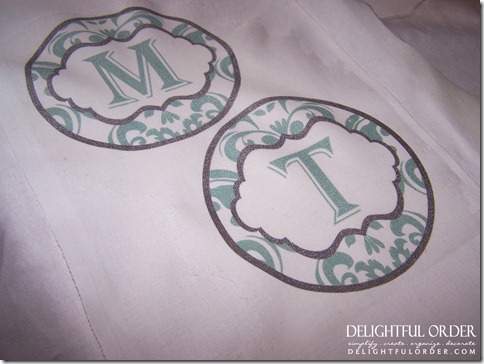
See… Voila! :)
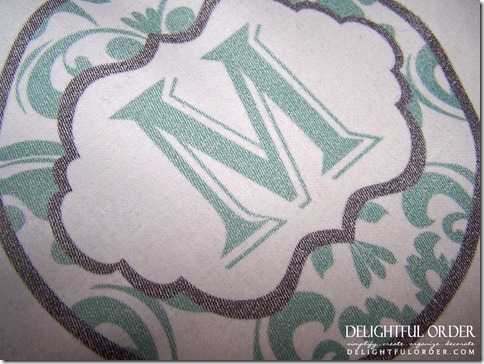
Next I cut out my labels.
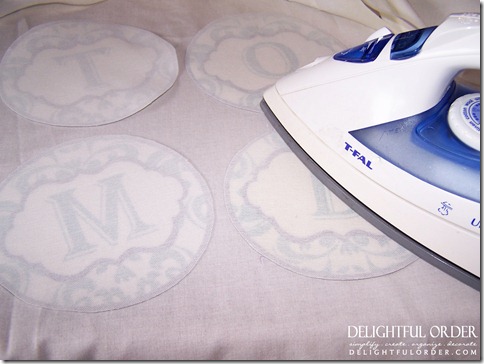
I did a total of four labels. After cutting them out, I carefully ironed the back side (on a low setting) just to get them to lay flat again.

Almost done…
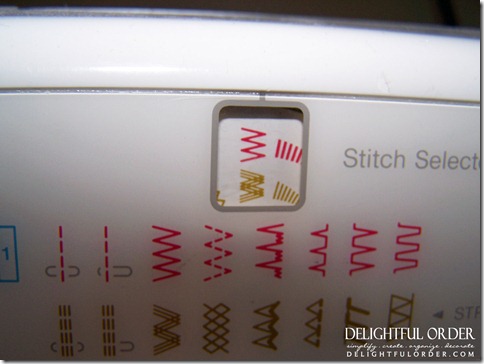
Next I set my sewing machine to a zig-zag setting,
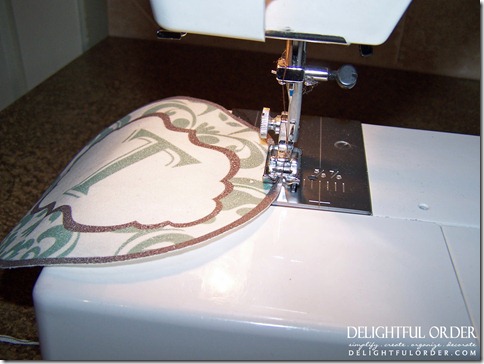
and zig-zagged the edges.
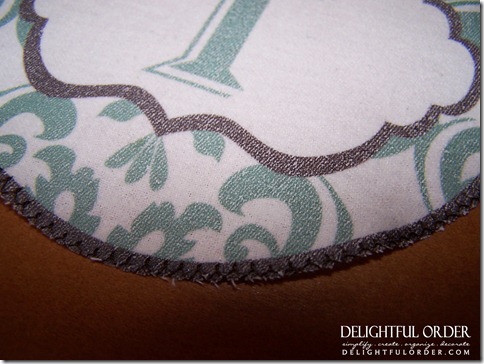
I wanted a little fraying to the edges, so I kept them this way.
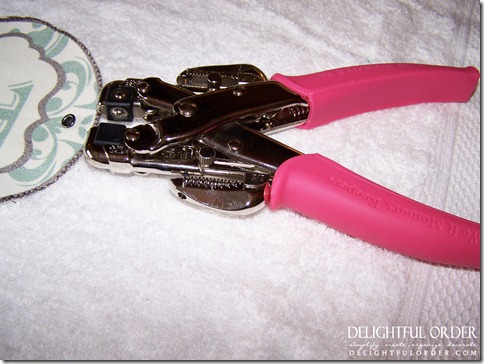
Next I needed to pop a hole in the material, so I used my Crop-A-Dile and added an eyelet, punching the hole first with a small hand held hole puncher.
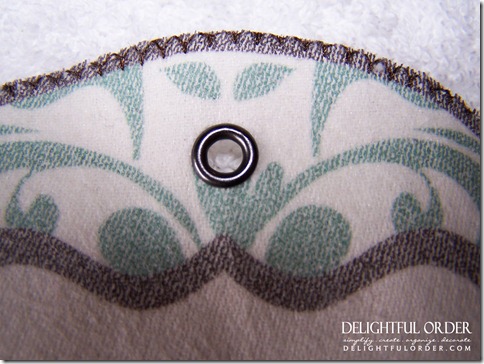
:)
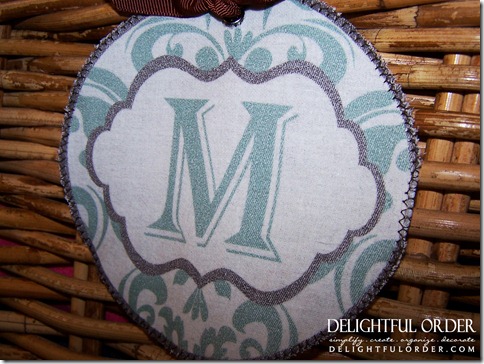
and attached my new labels to baskets using brown ribbon.
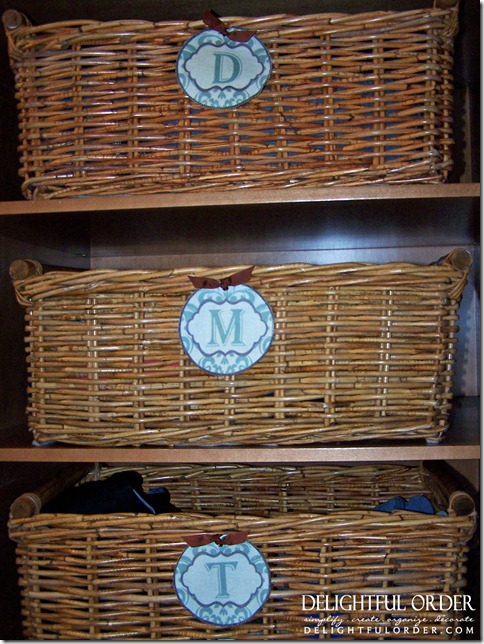
I am thrilled with the way these turned out. They can’t be ripped or torn and being that these baskets are out in the open in the room that I’ll be sharing, I wanted a label that was a little more classy than just a simple laminated label.
I did make some similar labels for inside a closet. Those ones I just printed and laminated and they work great. You’ll get to see them in my post on the 27th.
NOW… want to see a little sneak peek at parts of the room that I’ll be sharing during the Spring into Organization Blogger Home Tour?
drumroll please…
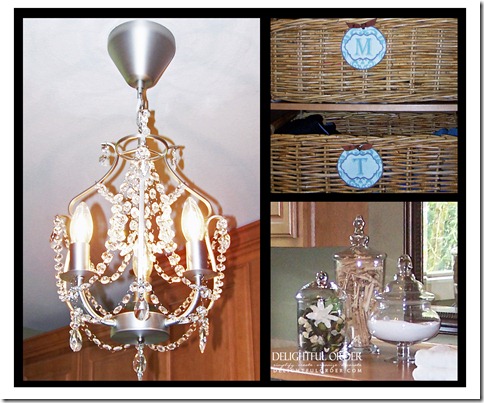
Here it is! To see this entire space, make sure you come back for the
! It begins on Monday, March 26th over at
. I'll be posting this space on Tuesday, March 27th and I have LOTS to share with you from making the space delightful to organizing tricks in keeping up and more!
So tell me, from the sneak peek… can you guess which room this is?
May you be a little inspired!
Until next time,
DaNita
Linking to some of my
.
