
Hosting a MORE Organized Garage Sale
Hello, hello! Today I’m sharing how I planned and hosted a MORE organized garage sale than in years past. My friends and I had the sale a couple of weeks back and I’m just NOW getting around to posting about it.
If you remember, last year I shared tips on hosting an organized sale. This year, my friends and I had an EVEN MORE organized sale and we got so many comments on how much people appreciated the fact that it was so highly organized and easy to find exactly what they’re looking for, which I believe, encourages people to buy items. :)

PLANNING
With any garage/yard sale expect to put in a LOT of work. BUT, get this, I’ve created an entire printable garage sale bundle package that is NOW available in my Shop. This entire set was designed to help you host an amazingly organized garage sale AND to take some of the work out. Yes, I created this set for myself too, so I don’t have to do the same thing over and over every year. I have everything I need all prepped and ready to go for the next sale that I have.
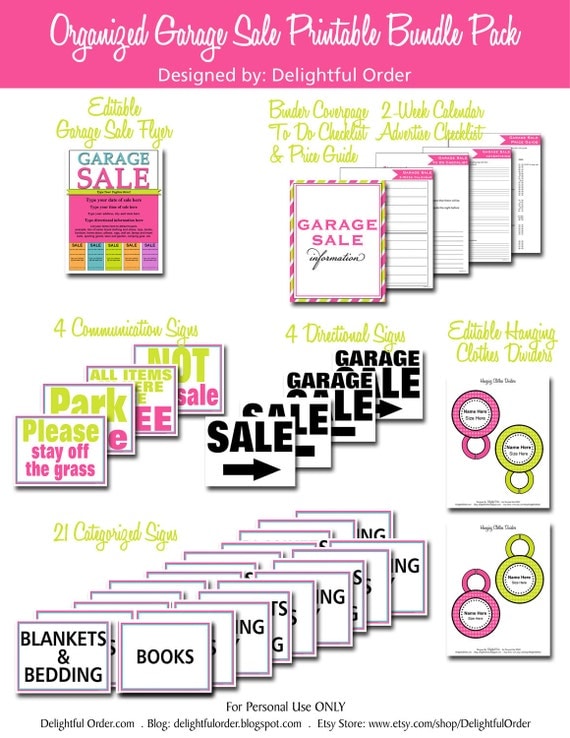
Here is the printable set that’s available in my shop. You get a total of 37 pages to download and print from home. Print the pages as many times as needed. Of course, for personal use only.
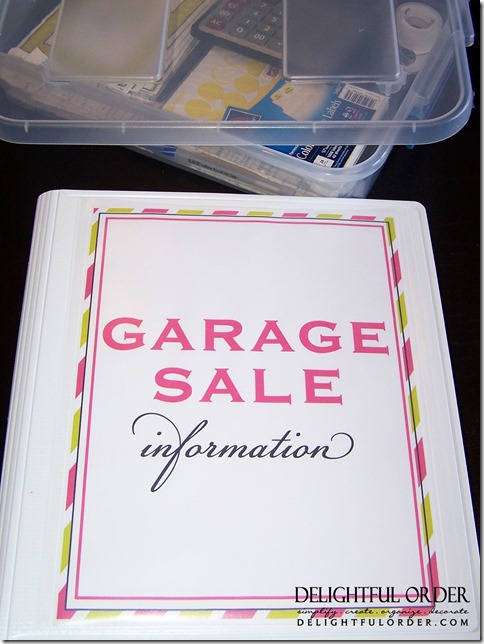
I keep the printable items in a binder and store it in a bin in the garage. The next time I go to have another sale, I’ll have everything I need all in one location, which I’m super excited about.
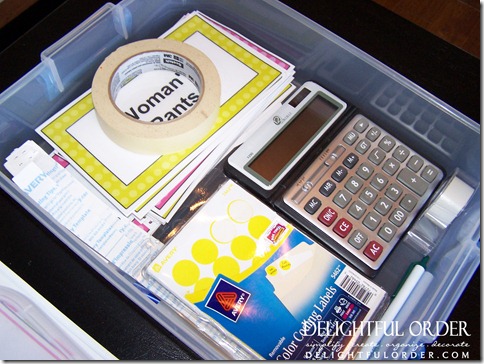
I keep a smaller bin that holds pens, tape, a calculator and labels inside the garage sale bin as well…

… and a cash box that I bought from Staples.

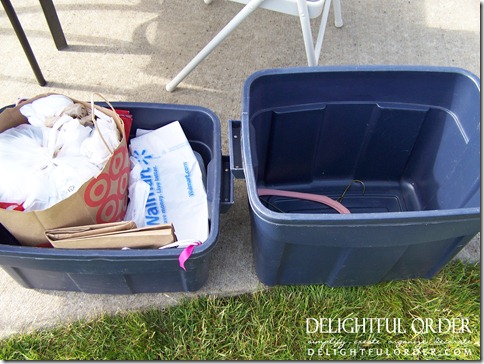
Inside my garage sale bin I also have a ton of grocery bags for the next sale.
PREPARING
Go through your home and decide what to sell. Start doing this early enough (it takes some time.) I kind of do this all year long, when I come across something that I’ll be adding to the sale, I put them into bins in the garage, until the bins are full, then I start collecting items in a closet in the garage. About 3 weeks before my sale, I do a final “go through” of the entirety of my home.
Set a date for the sale
ADVERTISE
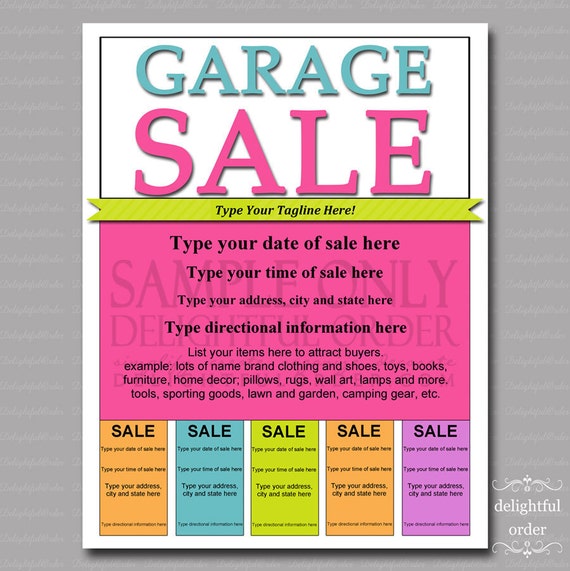
Advertise with Flyers: I advertise my sale with flyers (which are part of the printable package in my shop and is an editable file.) Post around town the week of the sale.
Advertise in your local newspaper: Included in the printable package are more advertising tips on this one.
Advertise online: Craigslist, Facebook, Twitter, etc.

Advertise with bright colored signs: More tips are included in the printable package regarding signs AND printable directional signs are also included. This year I used a great readers advice and had my signs say “Upscale Multi-Family Garage Sale.” LOVED the idea and I live in an upscale neighborhood, so I decided that was okay to do. Thanks for the idea!!
SETTING UP
Categorize
your sale like you would see in a store. Included in the printable bundle pack are 21 printable category signs. I laminated my signs, that way I can use them for many years.

I typically start to set tables on the Monday before the sale. I set all items up in the garage and the morning of the sale, we pull most of the tables out into the driveway.

Set up Tables:
Get as many tables as you can from family and friends. Having items at eye level is much better than on the ground and they sell faster. HOWEVER, toys laid out on a blanket on the ground is good.

Cover Tables:
My tables are really getting junky, so this year I bought plastic table covers from the dollar tree and used those to cover up my tables. Table cloths just give a much cleaner, neater look.

Take the time to wash/wipe down your items. You’ll have a better chance at selling them if you do.

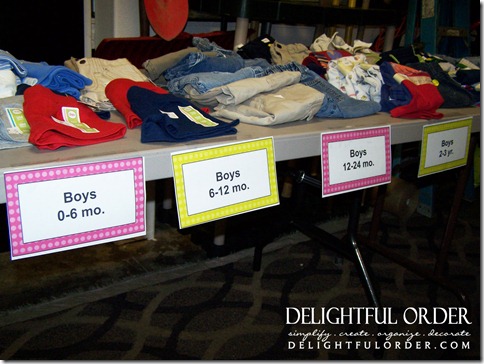
Categorize clothing in sections: Men, Woman, Boys & Girls
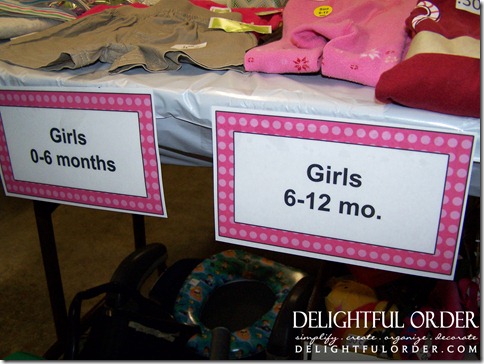
and also organize by size.


These hanging clothes dividers are part of the printable bundle pack too.

Check Pockets:
When setting up, make sure to check the pockets of jackets, pants, purses, bags and such. There has been a time or two that I’ve forgot and some honest person finds money inside.

Books and photo albums are good in totes.
PRICE AND LABEL ITEMS

Price items: Included in the printable bundle pack is a price guide sheet to get you started. This year I printed my prices onto Avery return address labels. I set it up to get 2 prices with my initial on 1 label. So much easier than using masking tape, which I’ve used up until now. I can’t believe I haven’t printed the prices before.
Clearly mark items: If the item is new, near new, works great, etc. put a sticker on it that says so. Tape pj’s together and write the size on the tape. Adding the size on the clothing stickers is a great idea too. Mark the size of window panels, duvet covers, bedspreads, sheets, dust ruffles, etc. Masking tape works great for this.
GET CHANGE & HAVE A STOCK OF BAGS READY
This year we started with:
4-ten dollar bills
4-five dollar bills
30-one dollar bills
2 rolls of quarters
We used our new cash box (as shown above) this year and it worked great. What I failed to mention last year and we have done this every single year is this:
We keep a minimum amount of cash in the box.
Anytime there’s a break in customers, one of us ladies running the checkout station, takes the majority of the cash out of the box and brings it into the house, adding it to an envelope that we have hidden inside.
Even still, with a minimum amount of cash in the box, WE NEVER, EVER leave the CASH BOX alone or out of our sight. One of us is always watching it.
DAY OF SALE
Get up nice and early, at least 2 hours before the sale. Expect early birds too!

Create a checkout table.
At the checkout table, have bags ready and a place for hangers…

Sell snacks if you’d like. We kept them right at the checkout stand this year.
HAUL THE TABLES OUTSIDE


If possible, have a friend or your spouse put the signs out. This helps tremendously as you’ll have a busy morning getting everything ready. My husband always sets out my signs.
and last but certainly not least, Open UP shop and SELLthose items!
Here’s a few more tips:
Have a FREE bin.
Mark items down throughout the day.
DONATE THE LEFT-OVERS.
So tell me, are you planning a garage sale? Are you overwhelmed with the idea of how much work it is? Lighten your work load with the Printable Garage Sale Bundle Pack. Not only will it take some time off your hands, but you’ll be sure to have the MOST organized garage sale on the block.
May you be a little inspired!
Until next time,
DaNita