
February Challenge: Organizing Photos (Printed Photos)
Hi again! I'm back with another photo organizing post. This one is a long one, with a lot of photo's. I've already shared how to organize your photo's in the computer and how to back them up . Today I'd like to talk about printing and storing your photos safely.
I'd highly recommend using an online site to print your photos. Personally I use Shutterfly and Costco to print mine. (Like I said in my last post, when you upload them to an online site, you have another backup of your photos.) Typically I'll wait until I get a coupon before I order a lot of photos. I order 4x6, matte or satin finish on my photo's. I just like the matte finish better than the glossy photos. That's simply just a matter of preference.
When ordering your photo's, start with the current year and work your way backwards.
Once you've ordered the photos and you have them in hand, there are many options on organizing them. You can organize them in boxes, albums and frames. Actually, I do all three.
BEFORE placing the photo into a box or album or frame, clearly label each photo. Mark the back of the photograph with the month and year. Trust me, you'll be happy that you did this. (Seriously, I didn't with many of my pictures that I had printed a long time ago and now that I'm trying to organize them, I wish I had done this years ago.) One cool thing about most online photo printing sites, is that you can choose your own wording for the back printing on each photo.
The biggest thing that I'd recommend is keeping all your photo's together in ONE spot.
This here is how I organize and store my photos:
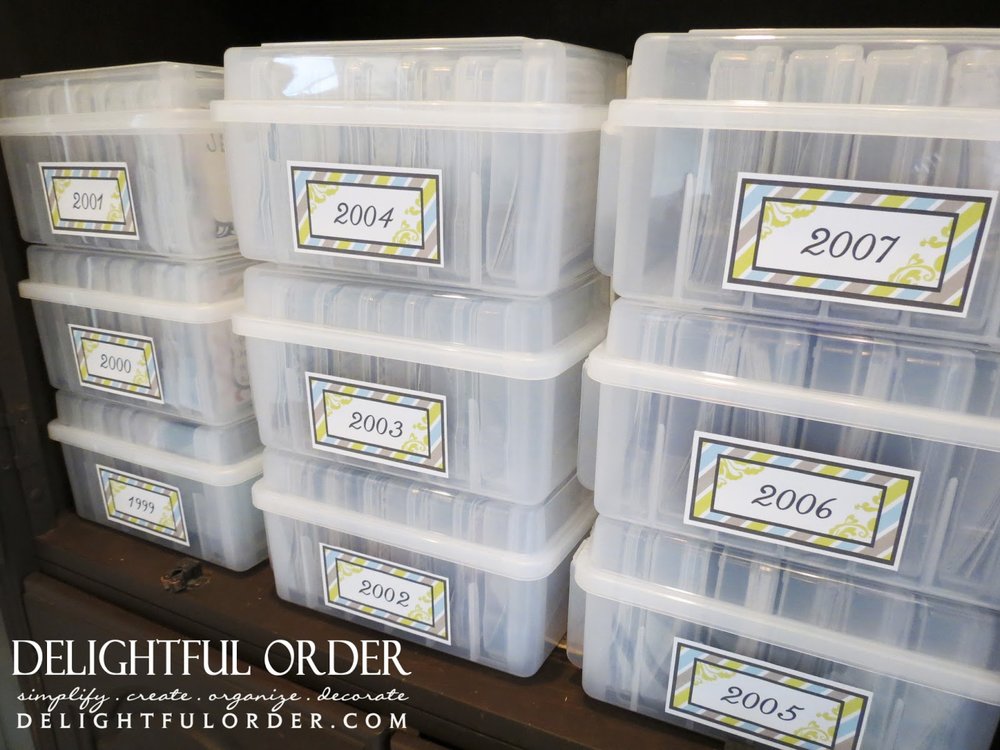
I found these awesome photo boxes...
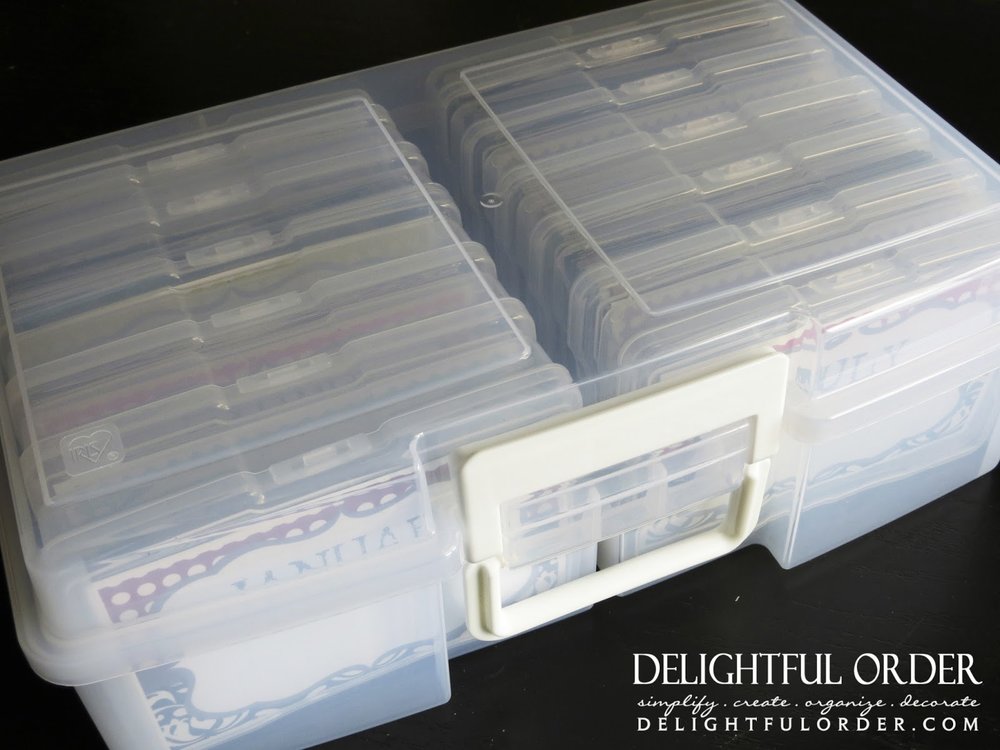
They are the Iris Large Photo Keepers
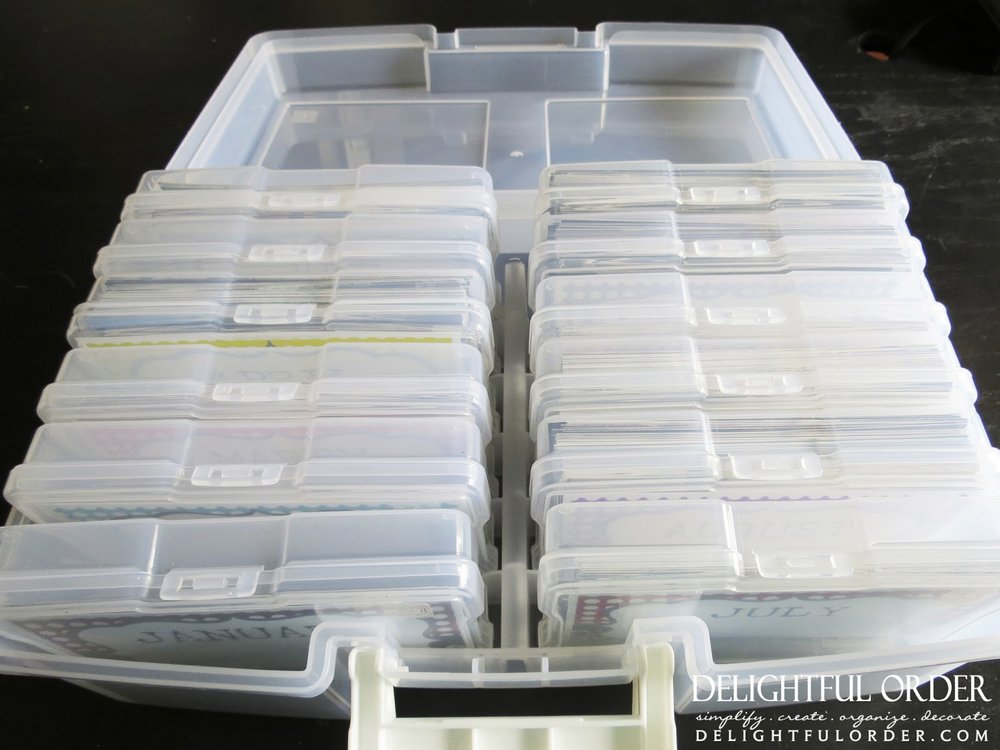
They've got 12 photo cases.
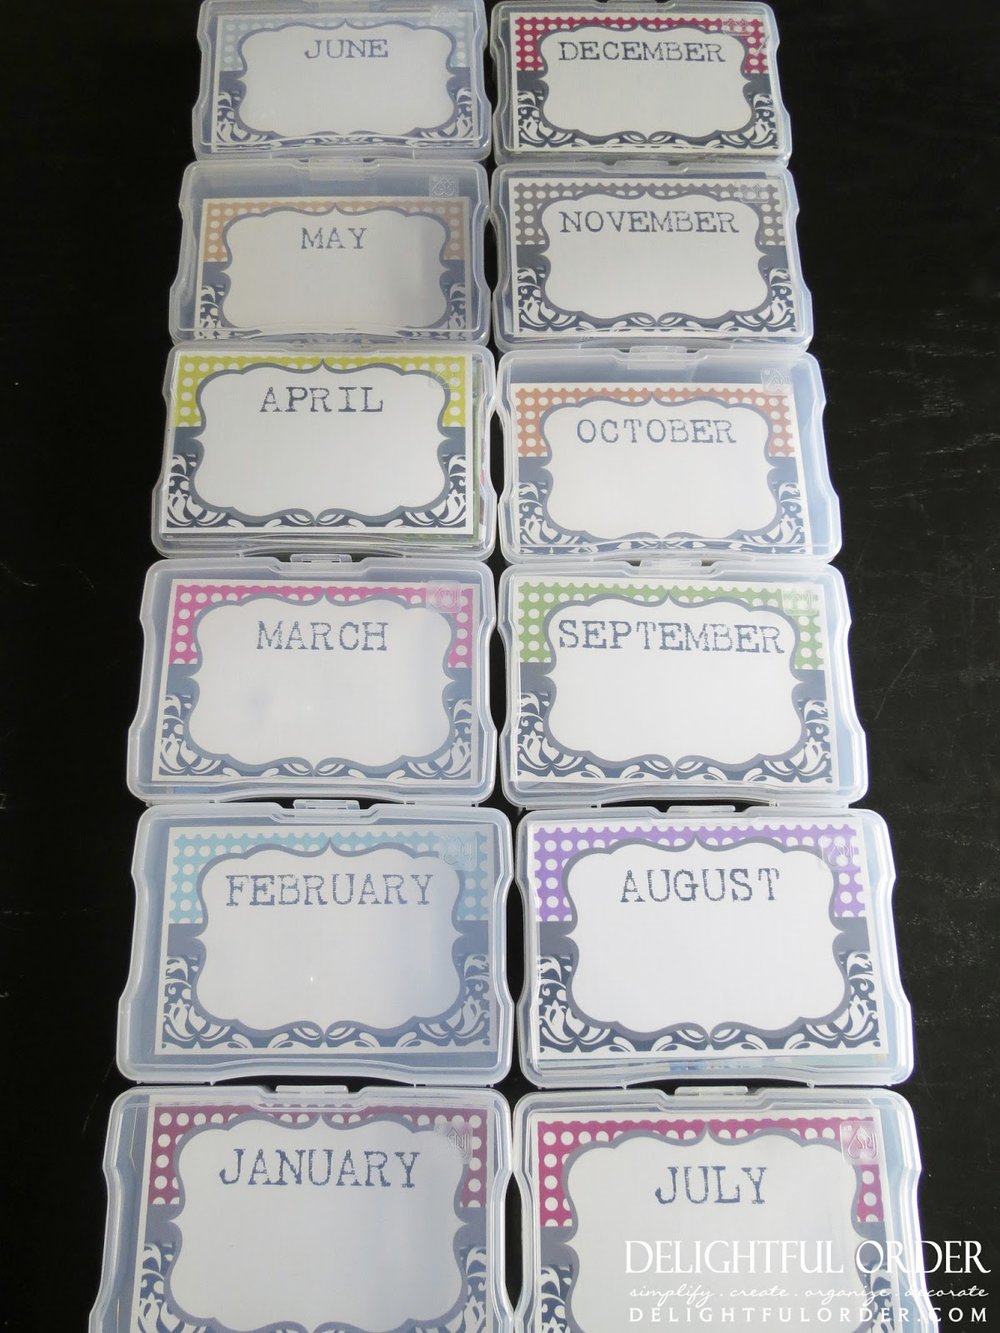
I've sorted mine by month, using these photo journal cards that I've created. I've been working on a lot of different photo journal cards and I'm hoping to introduce them into my shop soon. I'll show you more on those in another post.
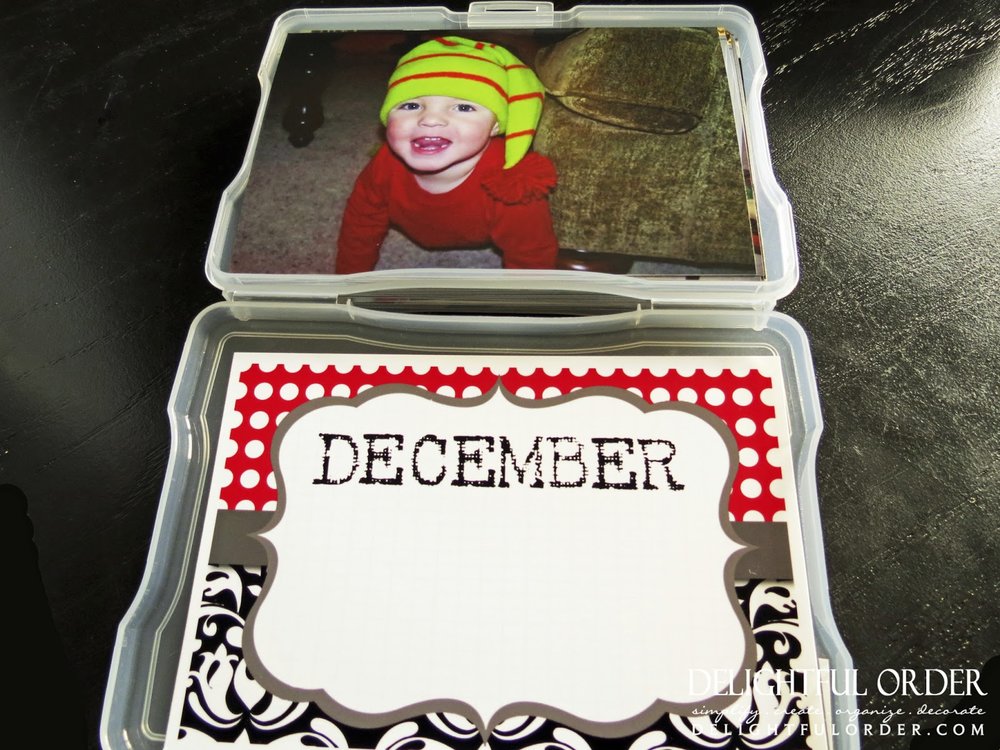
The cases are the perfect place to store your 4 x 6 photo's.
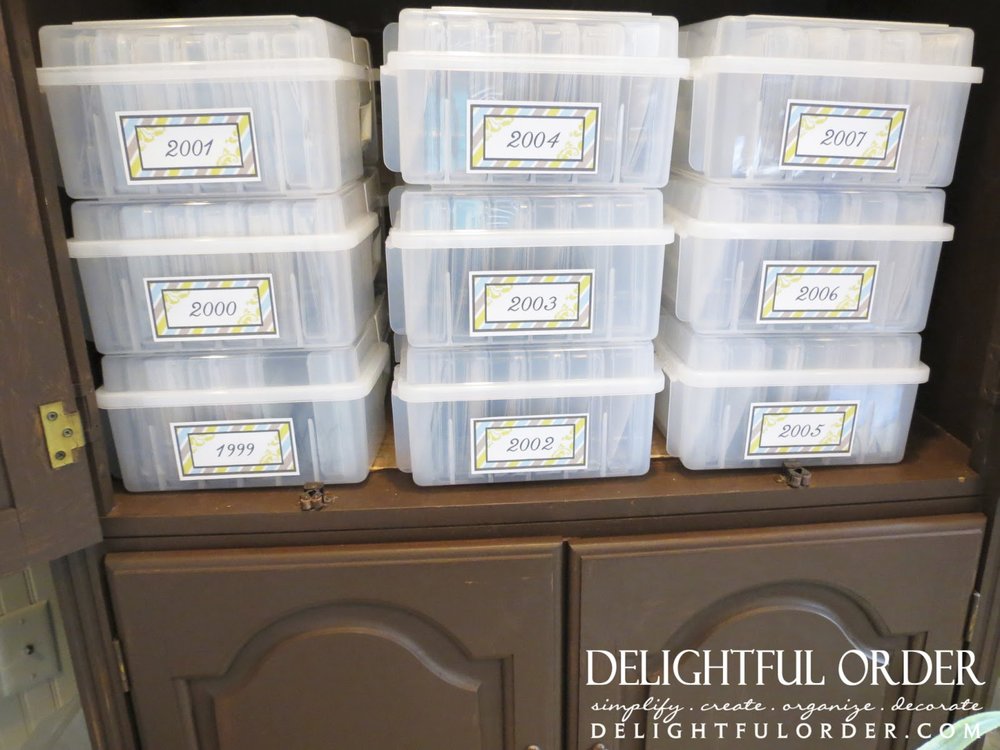
I keep them all together in an armoire that I have in my craft room/office. From here, the photo's will go into a yearly photo album, so that my family can enjoy looking through them. Next week I'll show you the albums that I create.
Also inside that armoire I have a top shelf that holds...

my boys' keepsake albums.
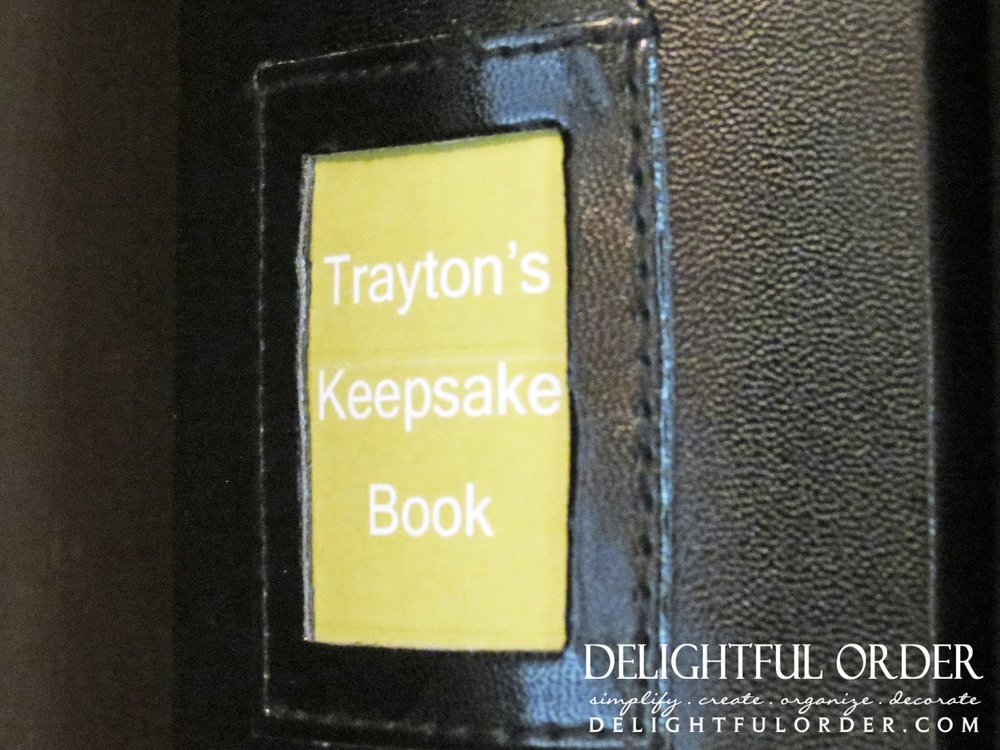
I'll show more on these albums in another post.
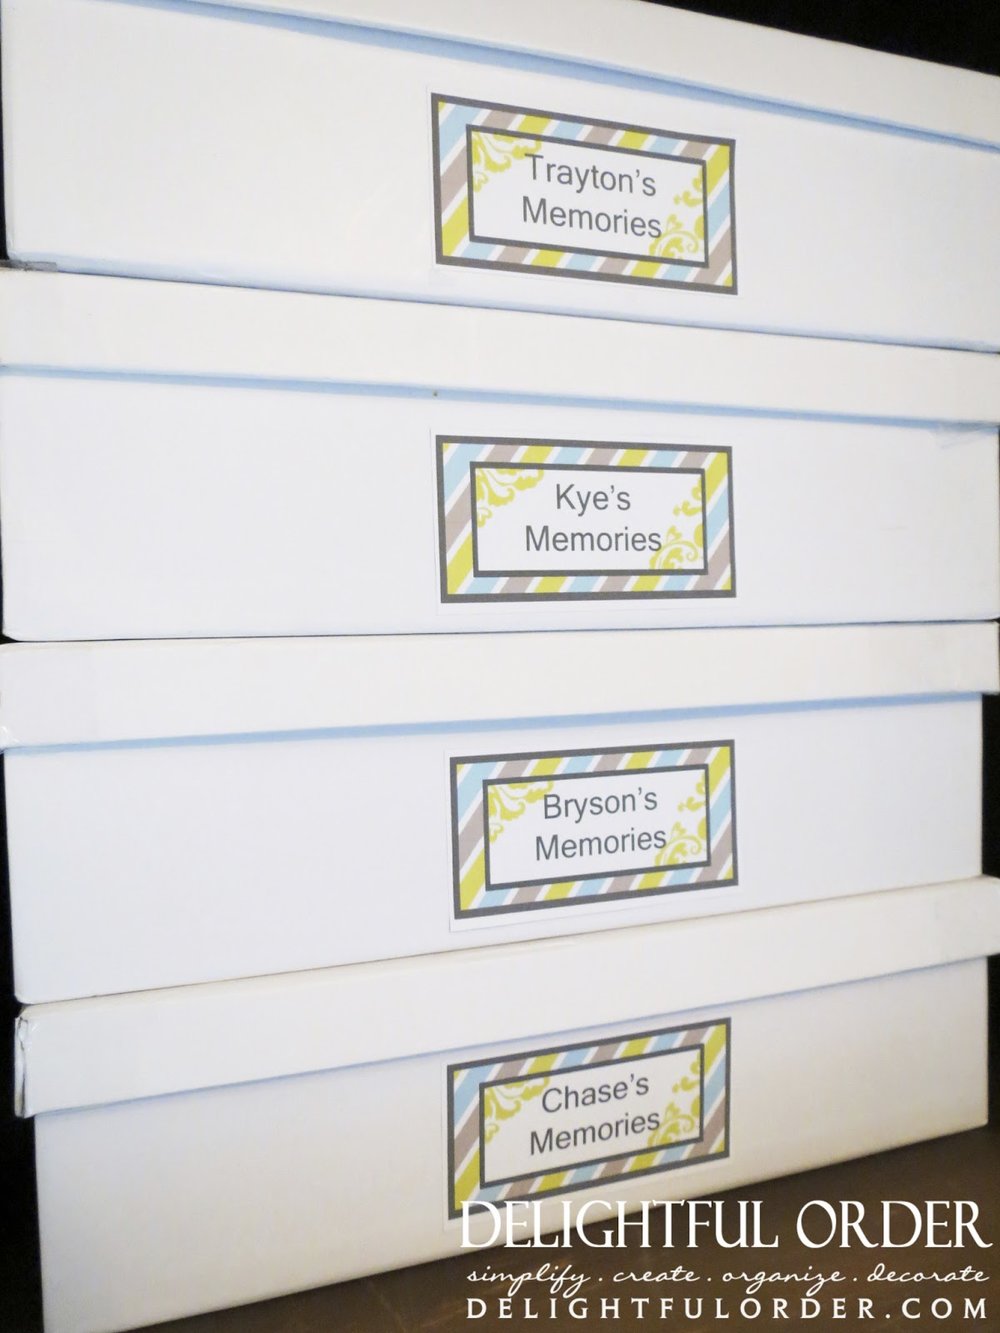
and I have one box for each of my boys for memories that won't fit into their albums.
Real quick, I wanted to share a few photos from about a year ago, so you have some idea on where I was and how much progress I've made...
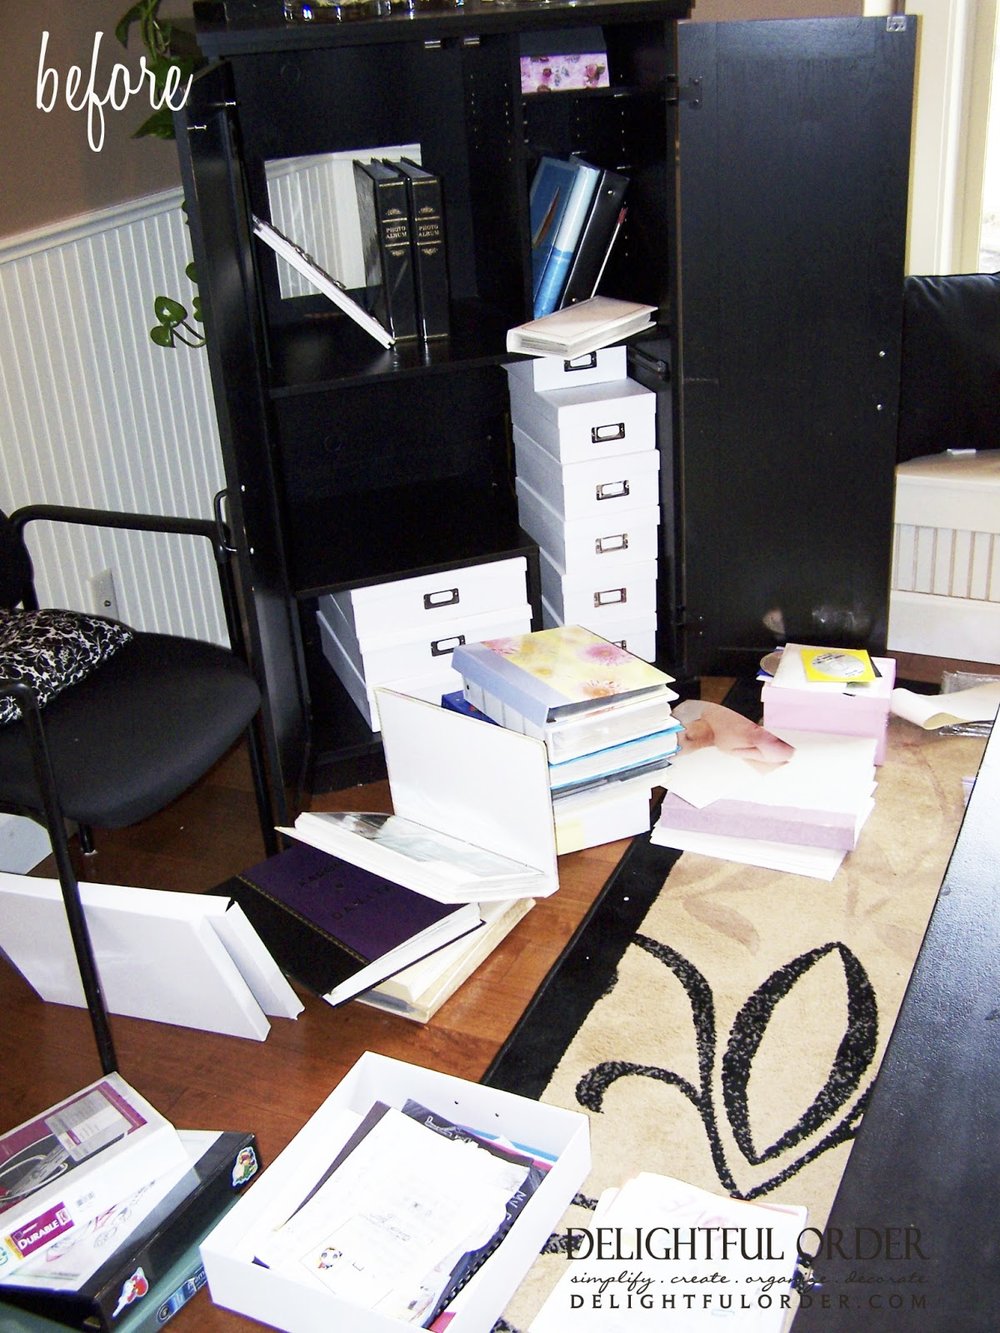
BEFORE
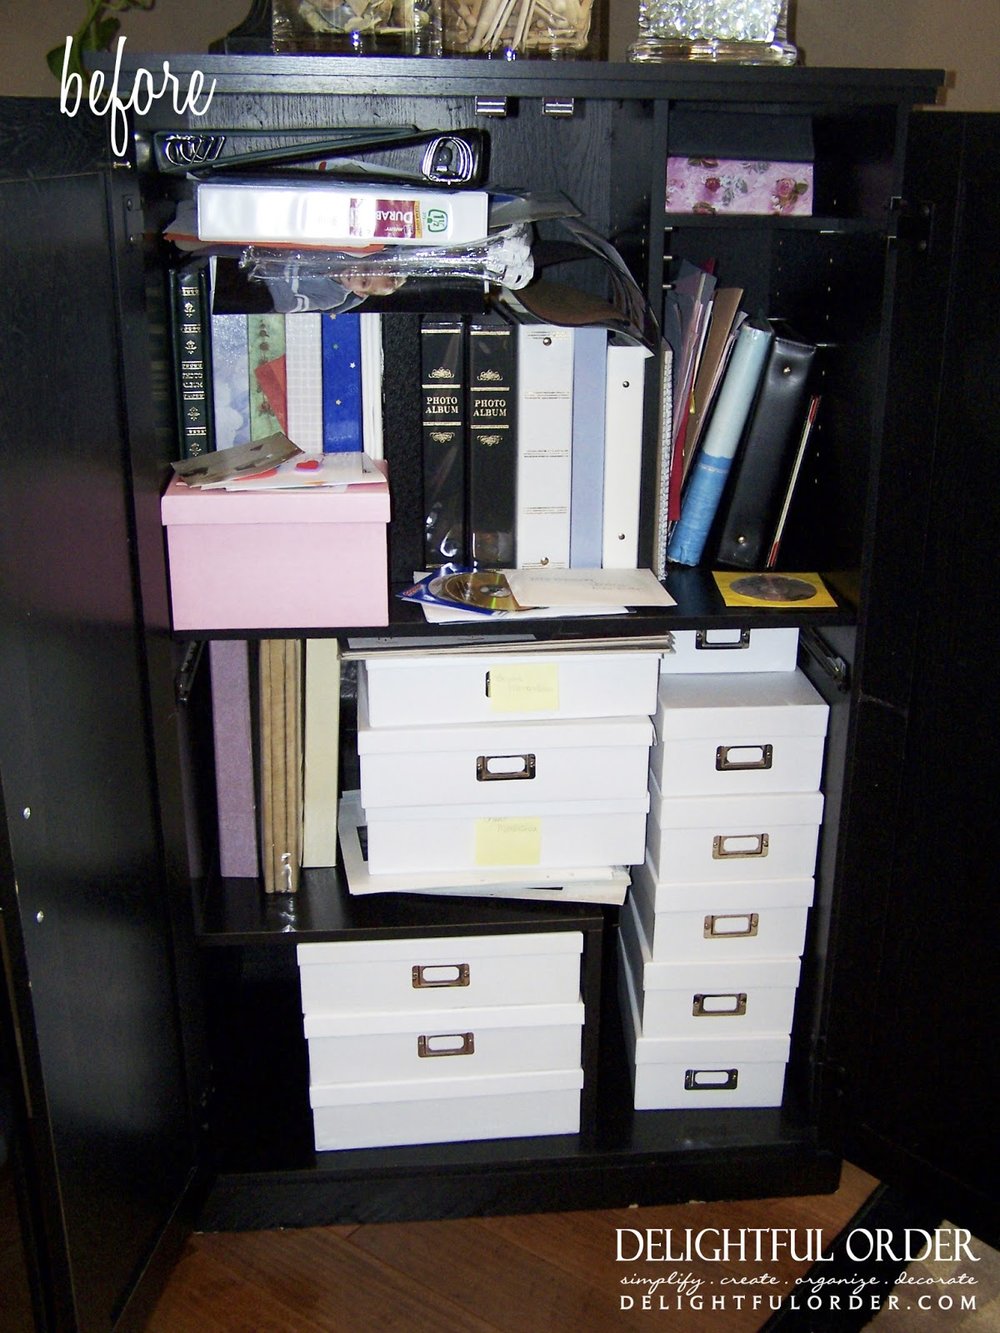
Just keeping it real, folks...
... Just keeping it real. :)
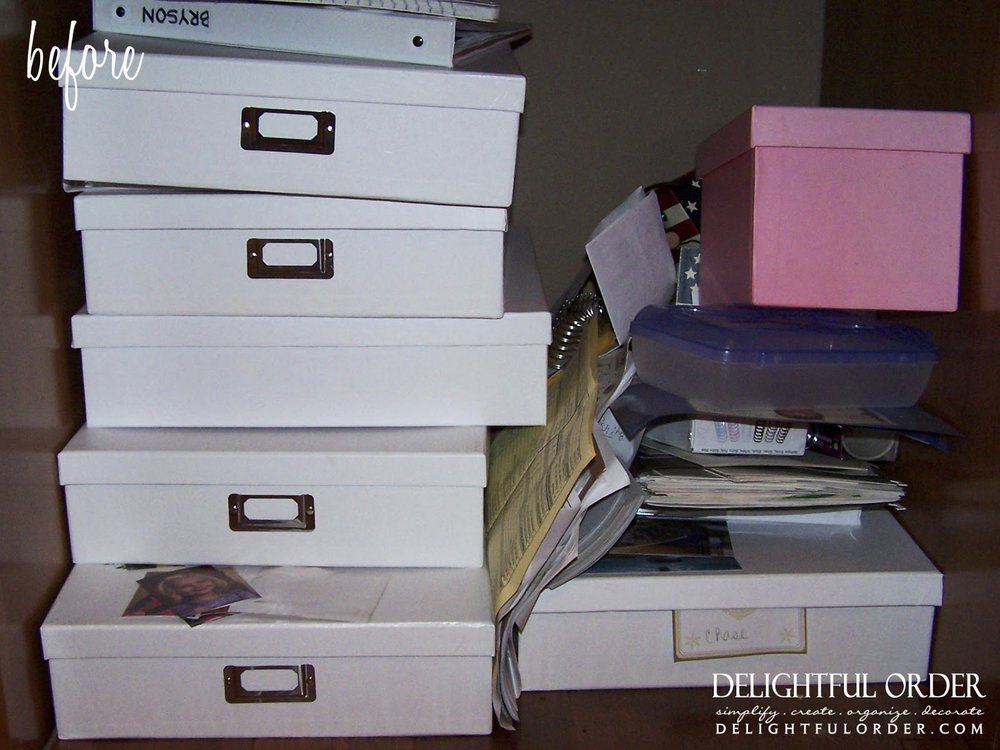
uhhh... it was a BIG job to tackle!
DURING
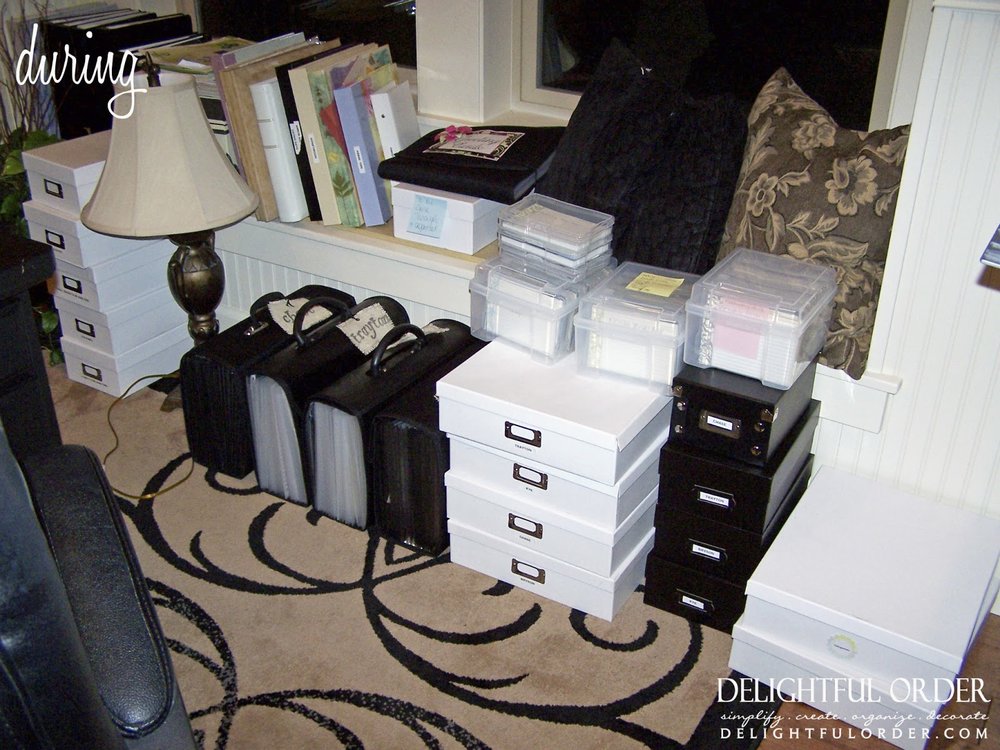
But I was determined to take control. Here is where I started making a little progress.
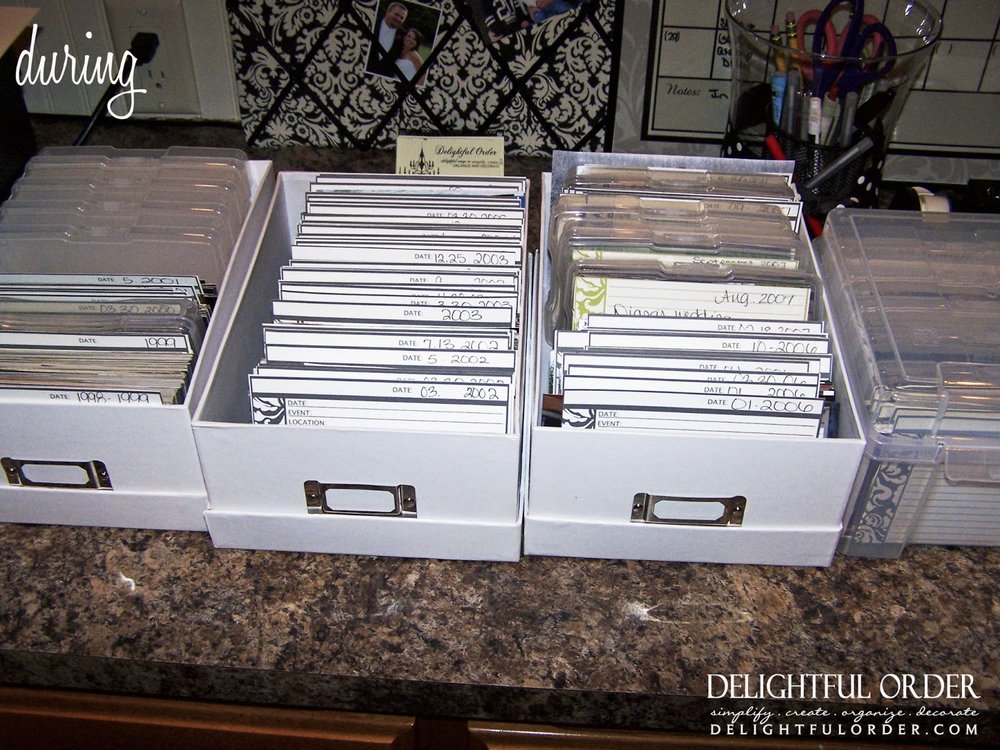
and a little more progress.
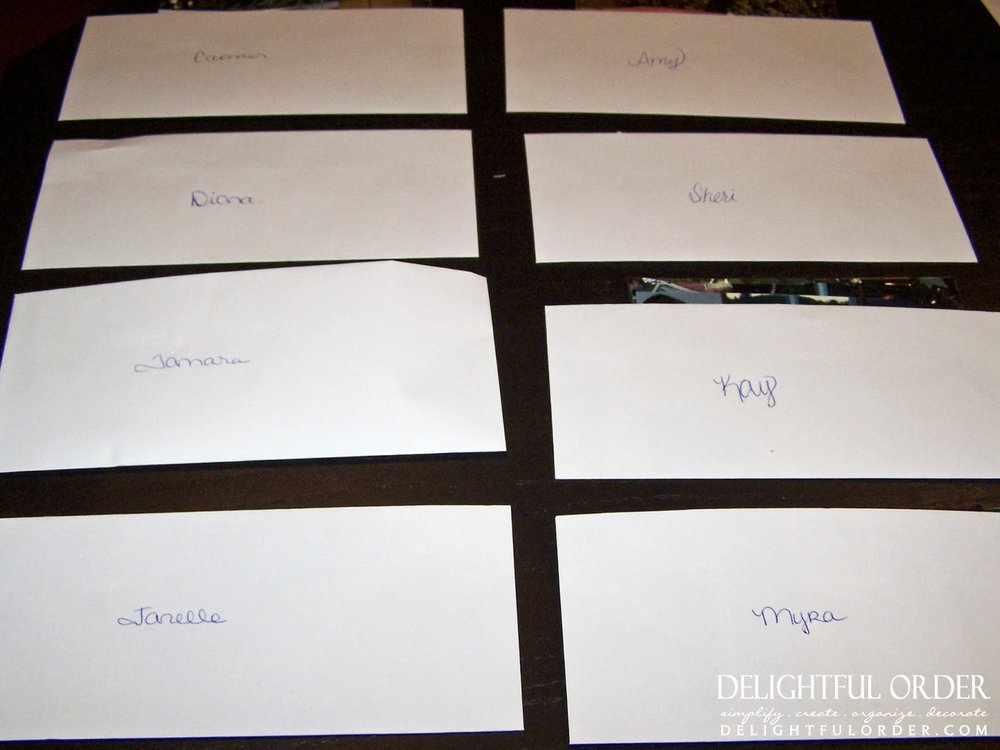
While I sorted through photo's, I made envelopes for certain family and friends for photo's that I found of their family members that I thought they would like to have. After sorting, I mailed the photo's to each of them.
AFTER
After a lot of time put in, here is the after of that corner in my craft room:
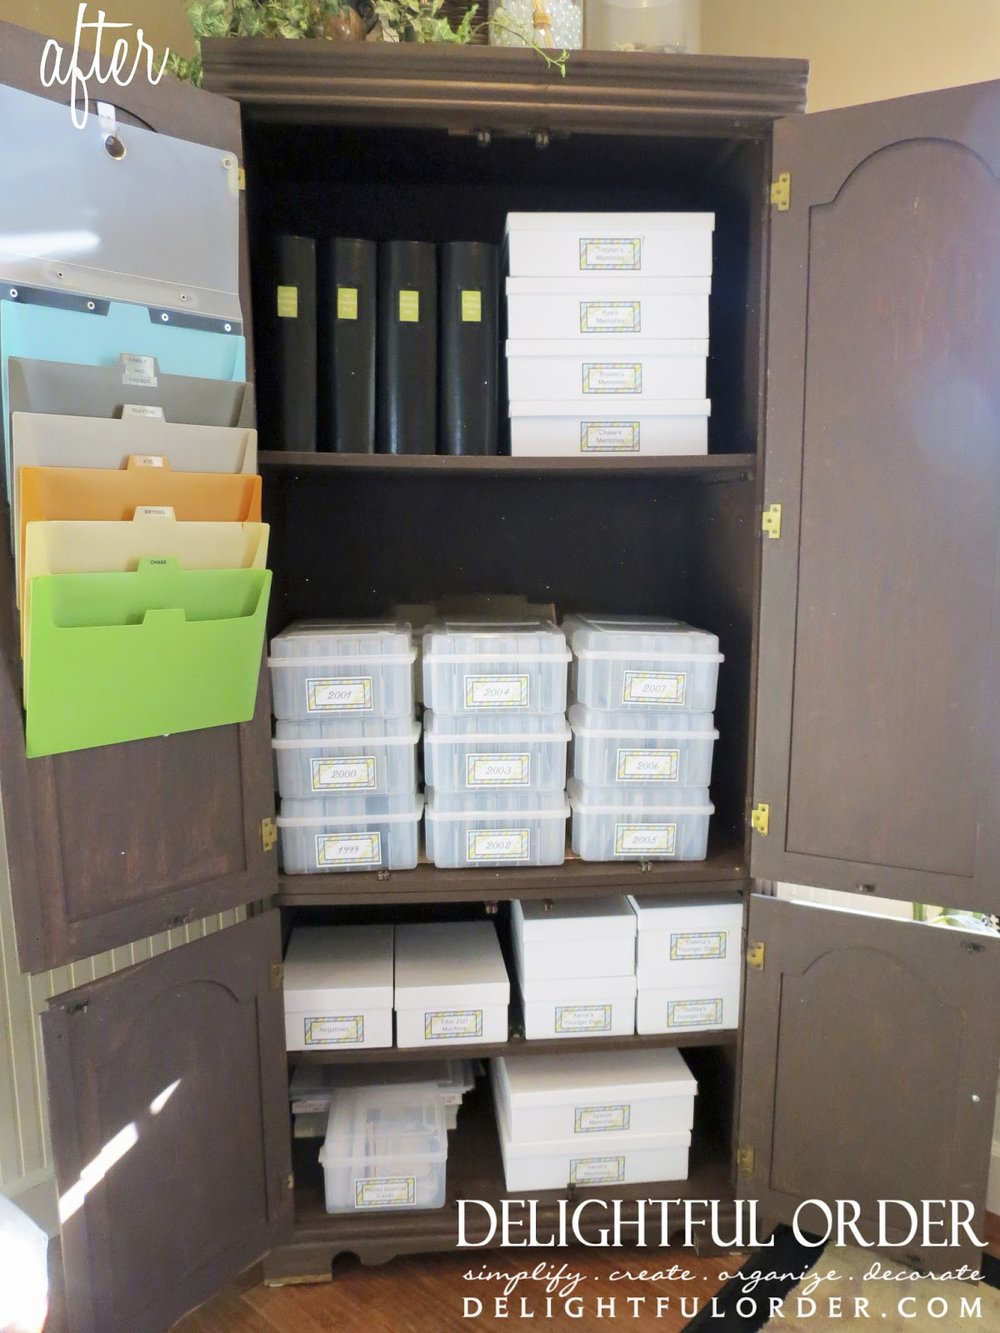
This armoire is actually the middle piece of the two bookcases that I have in my family room. I found the set on Craigslist last summer and I still need to re-do this part of it. I've already repainted the two bookcases. I shared those with you at Christmas time, you can view that post here.
The hanging file folders are my quick go-to files. Throughout the year, when I get a photo, (say from my childrens school teacher or from a friend that has my child in the photo) or when my child receives an award, I just slide the photo or memory in the file marked with their name. Sometime at the end of the year, I'll go through the folders and place them into the proper album or box. I just picked up this file folder from Target the other day, hung it with a command hook and that's my plan for them.
That's where I'm at today and it feels so good to finally have a little order in the photo organizing department! It's a process.
I still have a long way to go. You may not think so by looking at these photos, but what you don't see are the photo's that I don't have printed yet. I'm literally still trying to figure out what photo's are and aren't printed yet. I'm working my way backwards. Right now, I have 2012, 2011, 2010, 2009 and 2008 printed, completely organized and the CD backups made. Some of those years are already in albums, others are in these photo keeper boxes.
Don't expect that you will accomplish it all in one day. Starting NOW is the very best time! Like I said before the longer you wait, the bigger the pile and the further behind you get. Today is a GREAT day to begin!!
No matter how you choose to organize your printed photos, just make sure you're storing them in a way that is protecting the photo.
Do use acid free storage- acid can discolor your photos over time.
Store in a cool, dry place.
Don't store your photo's in an attic or basement, where temperature and humidity fluctuate.
Don't use plastic bags to organize your photo's.
Don't use sticky notes. After time, the adhesive part will stick to your photo.
NOW IT"S YOUR TURN:
Order & collect all your photos (keep in mind that you'll need a big area to lay your photos out.)
Separate them by year, then by month, then by event.
Label each photo clearly by writing on the back. Include the month and year.
Decide on a storage box - I recommend the Iris Double Photo Keeper.
Label each box by year.
Make dividers for each box and label them by month or use the seperate photo cases.
Start adding your photo's to the proper case or section.
Good luck and have fun! Be sure to come back here at the end of February to link your photo organizing posts. I simply can't wait to see how you organize your photo's.
May you be a little inspired!
Until next time,
DaNita