
Table Redo (Contributor Post)
Last year, I bought a matching table and hutch from a yard sale for eighty dollars. I knew it had potential and I couldn't wait to refinish it. We were living in a rental house at the time and we didn't have adequate space to work on projects. Every time I brought up the daunting task, my husband would say, "Lets just wait until we have a house with a garage". Well, we ended up needing to leave the rental house sooner than we had anticipated and instead of renting again, we decided to build a small starter home with a one car garage. Little did Tyler know just how many projects I had planned for us once we had that little garage and no excuses... (I can see him shaking his head right now). Once we got into our house, this was one of the first projects I wanted to start on.
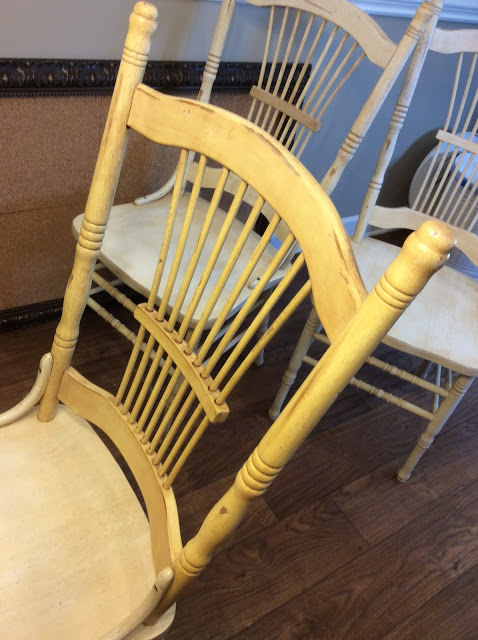
Here are the before photo's:


I browsed Pinterest to gather insight on the best methods for my table overhaul. My vision was a dark table top with rustic cream chairs and legs. My inspiration came from this blogger's table redo, and I followed her steps with a few modifications (or mess ups) along the way.

To say this project went smoothly would be lying, but I did learn a lot in the process. (And that has to count for something, right?) To begin, I used a random orbital sander to strip the stain from the table top. I know from previous experience that in order for stain to take evenly, it is essential to sand until there is absolutely no stain left in the wood.

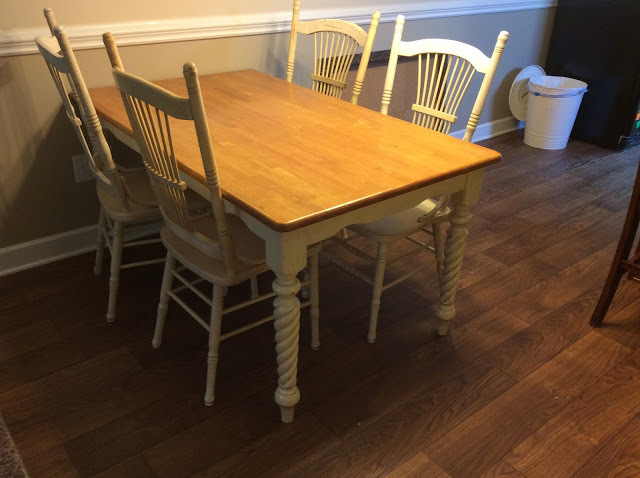
My husband stained the table top with two coats of Miniwax Dark Walnut. We then applied two coats of Miniwax Polycrylic (water based, satin finish.) I thought buying an electric paint sprayer for the chairs and legs would be the easiest option. The primer came out uneven and bubbly, but dried smooth. We should've stopped at this point, but I was in a hurry and I figured the paint would dry smooth too. That wasn't the case and we were left with four bubbled, and what I thought to be ruined, chairs. We spent hours sanding them down and there may have been a few tears involved in this process (it's never a good idea to do big projects while pregnant). My brother, who is a painter for a construction company, came over and resprayed them with his professional sprayer. Once it dried, I went over the chairs and legs one more time with a paint brush to get any missed spots. Originally I had wanted to add dark brown water based stain to all the spindles and legs for a rustic look. I didn't love the way it turned out when I tried it on one leg, so I left it clean and simple. Overall, I learned with this project that you will not always create exactly what you had envisioned. Sometimes it can evolve into it's own style and that's the beauty of DIY projects. I love the bright, fresh look it brings to my kitchen!
Here are the after photo's:


Do you have a table that you've been wanting to refinish? Give it a try, it's a rewarding experience that you will not regret!

"Hello! My name is Jodi from
. I love to decorate, refurbish old furniture, create small crafts and come up with unique party ideas. I also have a knack for organizing and enjoy experimenting with new recipes. My style is rustic with a touch of farmhouse. If you ask my husband, I could live in antique shops and home decor stores. I love being inspired by others and hope, you too, can gather a little inspiration for your home!"